
Sewing a Lou Box Top | Handmade Wardrobe

Lou Box Top Pattern Review
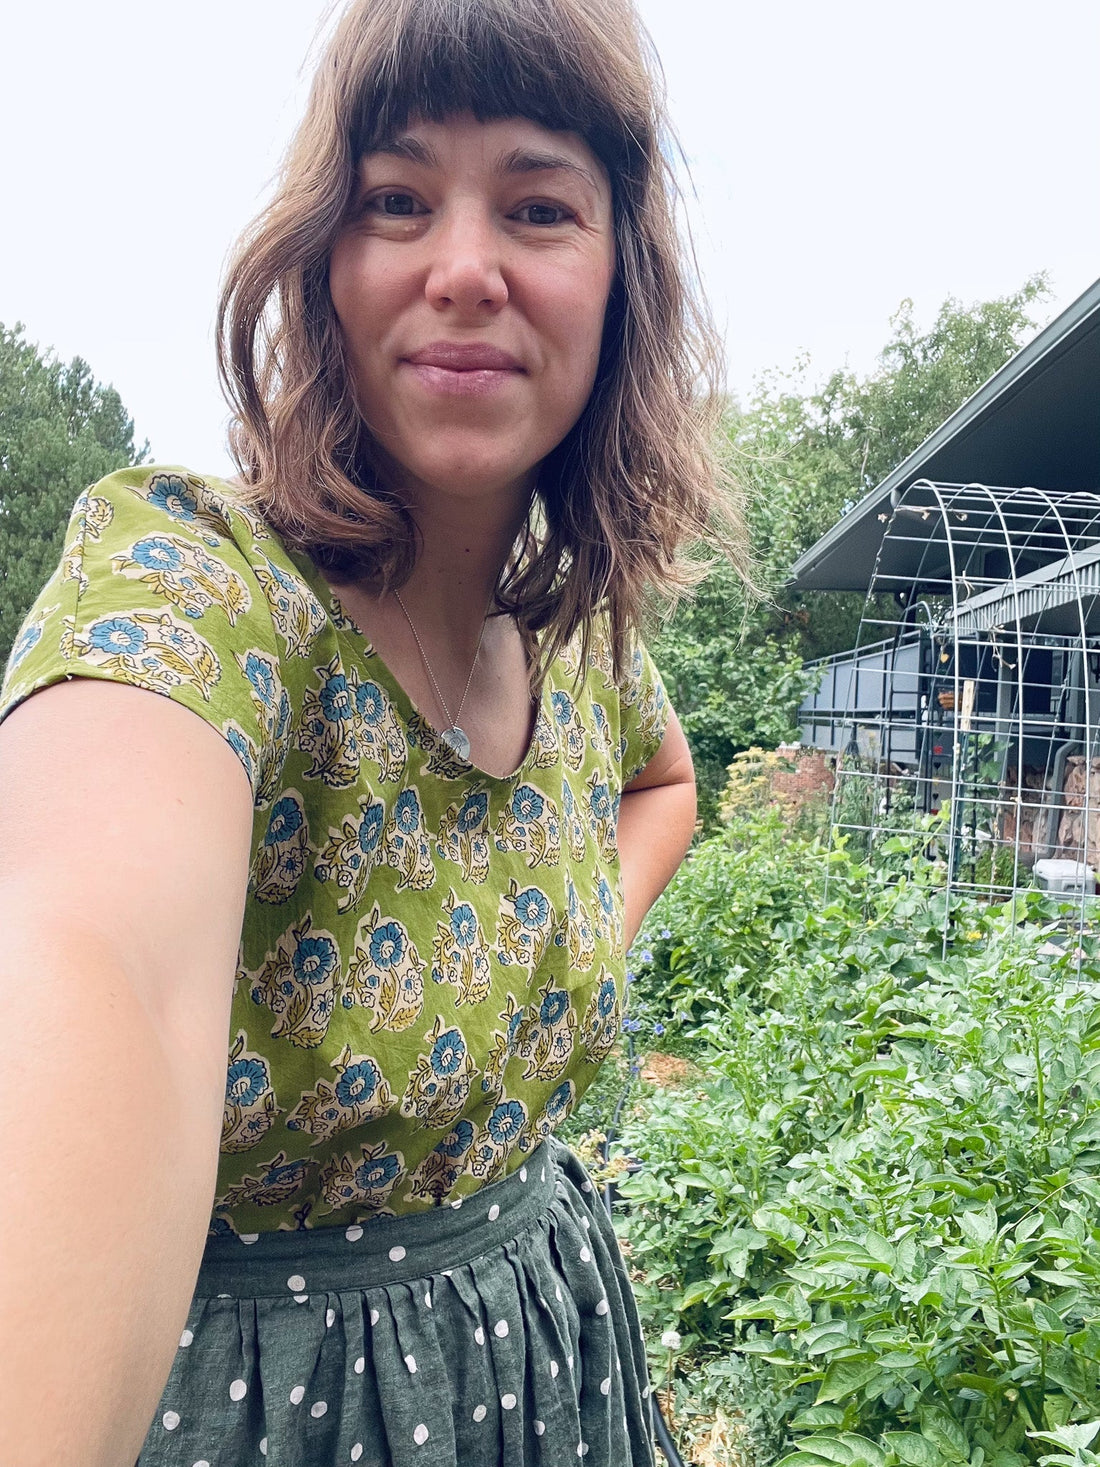
The Lou Box Top shirt pattern by Sew DIY has become one of my all time favorites over the years. If you are in the market for a very simple top pattern - this one might just be my top pick. She even has a sew a-long for it! For this version, I used a woven Indian block print by Merchant and Mills, but in the past, I've made this from linen as well a knit jersey (the pattern includes the knit instructions as well).

The Details:
I used 1.5 yards of fabric for my size, which was the XS/S in the scoop neck version. The construction of this top is very simple and I even added French seams to the entire garment so that the finish feels very high end.
To do this, I simply sewed wrong sides together at a 1/4in seam allowance before turning the garment right sides together and enclosing that seam with another 1/4in seam. When I do this, I will often trim my first seam down a bit to make sure that the whole thing will be enclosed. If you're interested in learning more about French seams, leave me a comment!

I love customizing my handmade wardrobe by putting in sewing labels. For this one, I used sarcastic award labels by Sarah Hearts!
Cutting:
Over the years, I have developed a habit of really trying to maximize my fabric as I am initially cutting out my patterns. While all designers will give a cutting layout in the pattern (that is very reliable so use it if you're getting started), most of the time, I will get creative and try to get as many sewn pieces out of the yardage as I can.
Since I only had 1.5 yards of this gorgeous cotton, I couldn't get multiple garments from the piece, BUT I did still maximize my cuts to have the largest possible scraps that I could.

Instead of folding the fabric dead center, like it comes, I made my fold only about as wide as my pattern pieces, shown above. This means that I have a nice wide scrap to use instead of smaller, more awkward ones. I will likely be using a lot of this in my Sampler Quilt!
Assembly:
This top really goes together quickly and simply, thanks to the boxy shape and lack of having to set a sleeve. I really do believe this is one of the best beginner tops out there! You start with sewing the shoulders and sides, insert the neck bias piece (the most advanced part of the pattern but not as hard as it seems) and finish with the sleeve and bottom hems. So quick! I would have finished this top in about an hour if I would have paid more attention to the instructions for the bias neckline. Each pattern instructs this a little differently and I went on autopilot with my favorite technique. Whoops! The neck fit funny.

So after unpicking it, I sewed it on per the pattern and it fit like a dream.
I used to hate unpicking and would toss mistakes aside, but the more I've made garments, the more I have embraced slow making and getting it right (and not being wasteful). I wear my handmade clothes ALL THE TIME and they last way longer than almost all of my store-bought stuff.

Have you tried this pattern? I hope this encourages you to try it if you haven't! I am hoping to be able to start teaching garment making in the shop in the near future, and this is definitely a top pick for what I would try to teach. I find the fit flattering tucked and also untucked and love that it doesn't use too much yardage. That way, you can get a top (and some decent scrap pieces) with 1-2yds!
The Results:
I will absolutely make more of these in the future, I already knew it to be a favorite, well worn item in my wardrobe. This is one of those patterns that I need to remember to cut out when I have some yardage left over from a larger project or maybe even to try a color blocked one with various scraps! Making a top in an afternoon never gets old.